Easy to Install ON&ON Shelving?

If you are not in our installation area and can’t get any local recommendations for a fitter many of our customers use TaskRabbit. If you want to find out more about how to install an ON&ON shelving system you can download an installation guide here or visit our downloads page for more detailed product information.
Below we have included several time lapse movies so you can see some larger systems, desks and cabinets being installed.
Watch a few of our time-lapse videos
How to install ON&ON alcove shelving | 12 steps
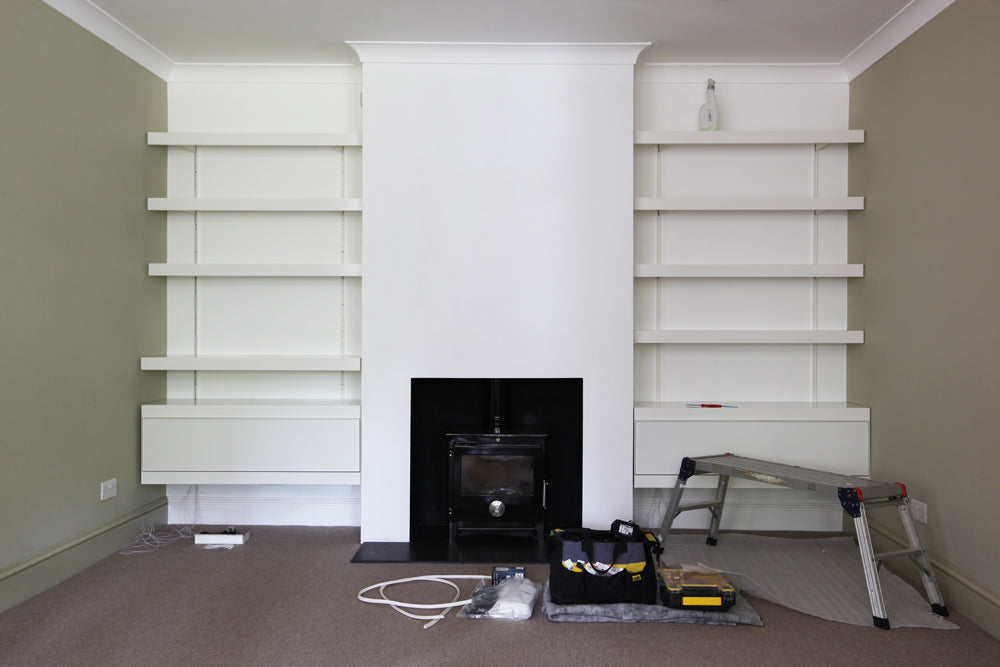
We've added photos below to show a step by step approach to fitting a pair of alcove shelving systems. Any more advice needed drop our planners an email or give us a call.

Step 1 - Cover your flooring to protect it when drilling your fixing holes, follow your setting out drawing and mark the top hole positions for all your wall rails using a tape measure and spirit level.

Step 2 - Fix your wall rails at the top, let them hang so you can mark out the position of all the fixing holes below. Drill your holes and insert the correct wall fixings provided.

Step 3 - Screw the wall rails against the wall and insert your wall brackets for the shelves and cabinet. Check your drawing to see if they are at the correct heights.

Step 4 - Repeat fitting the wall rails and brackets in the second alcove.

Step 5 - Finish positioning all your wall brackets in the wall rails and mount all your shelves. Use the VHB dots to fix them into position.

Step 6 - Fix your wall cabinets, lift them into position and fix them in place.

Step 7 - Complete fitting the wall cabinets and run your lighting leads inside the wall rails.

Step 8 - Wire up your leads from the undershelf lighting to the drivers supplied.

Step 9 - Fit the cable tray to the underside of the wall cabinet and plug in your lighting.

Step 10 - Turn your lighting on to check it has all been fitted correctly.

Step 11 - Work out what you want to store or display on your shelves.

Step 12 - Finish off your alcove shelving and having a wall mounted shelving system means you don't loose any valuable floor space.
For more detailed information visit our dowloads page for our installation and product guides. Any additional help please contact our Planning team.

